










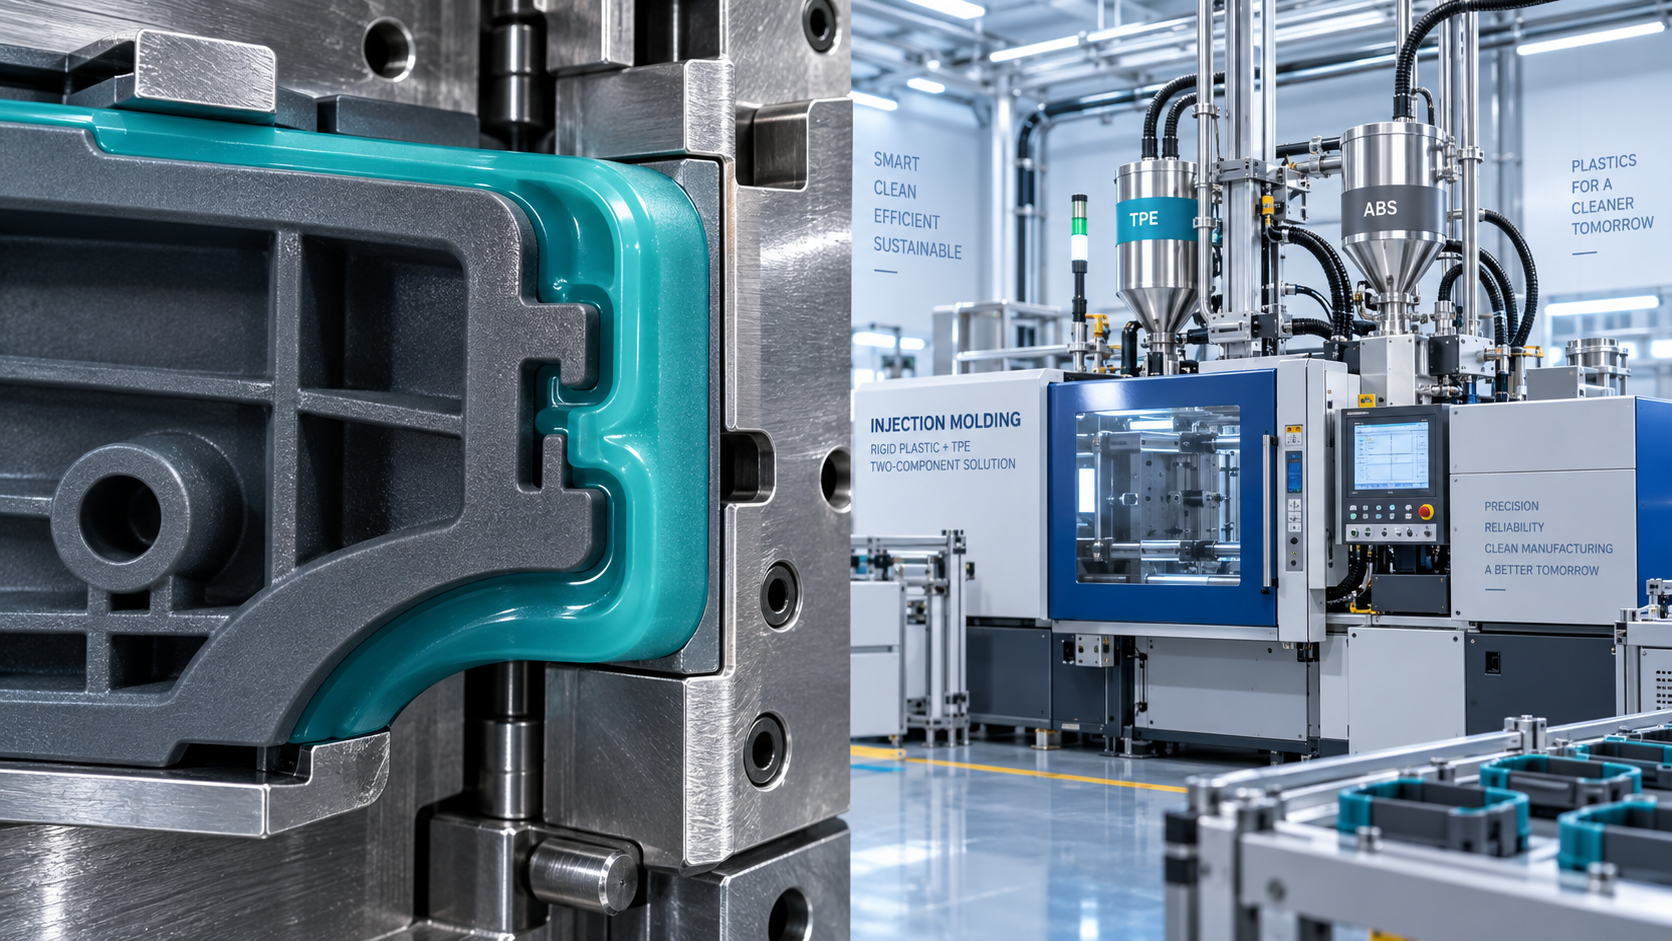
Reliable overmolding adhesion is essential for operators seeking durable, high-performance molded components. Thermoplastic Elastomers offer flexibility, grip, and processing efficiency, but successful bonding requires disciplined material and process control.
The central practical point is simple: strong adhesion rarely comes from increasing temperature alone. It depends on compatible materials, a clean substrate, correct interface temperature, sufficient pressure, and stable timing.
Start With Material Compatibility, Not Trial-and-Error Settings
When Thermoplastic Elastomers fail to bond, operators often first adjust barrel temperature or injection pressure. Those settings matter, but they cannot reliably overcome fundamentally incompatible polymer chemistry.
Overmolding adhesion develops when the molten elastomer wets the rigid substrate, contacts it closely, and creates molecular interaction, diffusion, mechanical anchoring, or a combination of these mechanisms.
The substrate may be polypropylene, polyethylene, ABS, polycarbonate, nylon, polyester, or a metal insert. Each material has different surface energy, polarity, heat tolerance, and bonding behavior.
For example, many TPE grades bond effectively to polypropylene because their formulation includes compatible polyolefin phases. A TPE selected for PP may perform poorly on ABS or polycarbonate.
Always request the supplier's adhesion guidance for the exact substrate grade. Generic statements such as “bonds to plastics” are insufficient for production decisions and quality planning.
Check whether the substrate includes fillers, flame retardants, mold-release additives, recycled content, pigments, or lubricants. These ingredients can change surface behavior even when the resin family remains unchanged.
Conduct a small, controlled compatibility trial before changing the full production process. Mold samples using the intended substrate, intended TPE grade, target geometry, and representative cycle conditions.
Evaluate both immediate adhesion and conditioned adhesion. A part that seems secure after molding may separate after heat exposure, humidity, chemical contact, impact, repeated flexing, or thermal cycling.
Use peel, pull, tensile, lap-shear, or functional separation testing appropriate to the component. The test should reproduce how the molded part will actually be stressed in service.
Control the Substrate Surface Before It Enters the Mold
Surface contamination is one of the most common causes of inconsistent overmolding adhesion. Oil, dust, fingerprints, moisture, migration residues, and release agents can prevent intimate polymer contact.
A visually clean substrate is not necessarily bond-ready. Low levels of silicone, wax, antistatic additive, or machining fluid can create a weak interface that becomes visible only during testing.
Establish a defined handling method for inserts and pre-molded substrates. Use clean gloves where necessary, covered containers, designated work surfaces, and short exposure times before molding.
If parts are cleaned, verify that the cleaning process itself does not leave residues. Some aqueous detergents, solvents, or rinse-water minerals can affect bonding when drying is incomplete.
Dry the substrate thoroughly when moisture-sensitive materials are involved. Nylon, polyester, and certain filled engineering plastics can absorb water, producing interface defects or vapor-related voids during overmolding.
For difficult combinations, surface activation may be necessary. Plasma, corona, flame treatment, laser texturing, and chemical primers can increase surface energy or create useful mechanical anchoring features.
Surface treatment should be validated rather than assumed effective. Measure surface energy where practical, then confirm improvements through molded-part tests under normal manufacturing conditions.
Timing matters after activation. Some treated surfaces gradually lose their high-energy condition through aging, contamination, or migration, so define the maximum allowable time before overmolding.
Mechanical texture can improve retention, but it is not a substitute for compatible materials. Knurls, holes, undercuts, ribs, and grooves should support the bond rather than conceal poor interfacial adhesion.
Use Temperature to Improve Wetting Without Damaging the Interface
Temperature strongly affects Thermoplastic Elastomers during overmolding because viscosity controls how well the melt wets the substrate and fills small interface features before freezing.
A melt that is too cold may flow adequately through the cavity while still failing to form close molecular contact. The resulting bond often appears weak, uneven, or easily peelable.
Increasing melt temperature can improve wetting, but only within the supplier's recommended processing window. Excessive heat may degrade the TPE, discolor the part, create odor, or increase flash.
The rigid substrate temperature is equally important. A cold substrate rapidly freezes the first layer of TPE, reducing wetting and limiting diffusion at the interface.
Raise mold temperature gradually and compare adhesion results against cycle time, dimensional stability, and surface quality. A warmer mold frequently improves bonding consistency more effectively than excessive barrel temperature.
Preheating inserts may be useful when metal or thick rigid components remove heat quickly. However, use controlled heating to avoid distortion, oxidation, operator hazards, or inconsistent insert temperatures.
Monitor actual temperatures instead of relying only on machine setpoints. Barrel zones, nozzle temperature, mold temperature, hot-runner temperature, and substrate temperature can differ from displayed values.
Record temperature measurements during both startup and steady production. Some adhesion problems occur after equipment reaches thermal equilibrium rather than during the first approved samples.
If using recycled material, assess whether heat history has changed melt flow or degradation behavior. Variable regrind content can create adhesion variation despite unchanged nominal temperature settings.
Set Injection and Packing Conditions for Complete Interface Contact
Injection speed influences the balance between filling, shear heating, air evacuation, and interface wetting. The correct setting depends on part thickness, gate design, flow length, and TPE viscosity.
Very slow injection can allow premature cooling at the substrate surface. Very fast injection can create jetting, trapped air, burn marks, excessive shear, or unstable cosmetic appearance.
Begin with the material supplier's recommended range, then adjust one variable at a time. Compare parts using a documented adhesion test instead of relying solely on visual inspection.
Maintain sufficient injection pressure to fill the interface completely, particularly around ribs, corners, and texture. Short shots at hidden interface zones may later develop into localized delamination.
Packing pressure and hold time can improve contact while the gate remains open. However, excessive packing can cause flash, stress, distortion, and cosmetic defects near the overmold boundary.
Use cavity pressure monitoring when the component is critical or production volume is high. It provides a clearer view of actual filling and packing behavior than hydraulic pressure alone.
Gate placement deserves close attention. Position the gate to promote uniform flow across the bonding area and avoid weld lines, hesitation marks, or air traps in high-stress locations.
Where possible, direct the melt front toward the largest bonding surface first. This keeps the substrate warmer and reduces the risk that the interface freezes before packing is complete.
Vent the mold correctly. Trapped gas can prevent local contact, create burn marks, and produce intermittent bond weakness that operators may mistakenly attribute to resin quality.
Manage Moisture, Storage, and Material Handling Consistently
Moisture control affects both molded appearance and overmolding adhesion. Depending on the TPE chemistry, absorbed water can cause splay, bubbles, poor surface finish, viscosity variation, or interface weakness.
Follow the TPE supplier's drying specification for temperature, time, dew point, and maximum exposure after drying. Do not assume one drying program works for every thermoplastic elastomer grade.
Keep dried material in sealed hoppers or controlled feeding systems whenever possible. Open bags beside the molding machine can quickly reabsorb moisture in humid production environments.
Material contamination deserves the same attention as moisture. Mixing incompatible TPE grades, color concentrates, purge compounds, or residual resin from prior runs can alter adhesion dramatically.
Use clear material identification, controlled hopper cleaning, and documented startup purging. A small amount of incompatible residue may cause early production parts to fail adhesion testing.
Some industrial facilities use moisture-sensitive functional additives in cleaning and water-management operations. For example, Sodium polyacrylate CAS#9003-04-7 should be stored carefully because moisture exposure can affect handling behavior.
That material is relevant to industrial formulations and water-retention applications, not as a universal solution for TPE bonding. Avoid introducing unrelated additives into molding compounds without formal compatibility evaluation.
Maintain lot traceability for both the rigid substrate and the overmolding material. Traceability helps distinguish process variation from batch-related changes when adhesion performance shifts unexpectedly.
For recurring defects, compare resin lot numbers, drying records, humidity, shift changes, mold temperature, and machine alarms before making broad process adjustments.
Design the Part and Tooling to Support a Durable Bond
Part design determines how much stress reaches the interface. Even excellent chemical adhesion can fail when sharp corners, thin bond areas, abrupt thickness changes, or peel-prone geometry concentrate loads.
Use generous radii at transitions between rigid plastic and Thermoplastic Elastomers. Rounded transitions reduce local stress and help the TPE flow smoothly onto the substrate.
Design for shear and compression where possible, rather than relying exclusively on peel resistance. Peel loading concentrates force at the bond edge and is especially demanding for many overmolded structures.
Mechanical retention features can provide valuable redundancy. Through-holes, windows, undercuts, grooves, and wraparound sections allow the elastomer to lock onto the rigid component after cooling.
Retention features must still allow reliable mold filling and part ejection. Extremely narrow channels may freeze early, while aggressive undercuts can complicate tooling and damage the TPE during demolding.
Maintain sufficiently uniform wall thickness in the overmold area. Large thickness changes can create differential cooling, sink marks, internal stress, and inconsistent contact pressure across the interface.
Review shrinkage differences between the substrate and TPE. Differential shrinkage may either tighten the assembly or pull the elastomer away from the substrate after cooling.
Consider service conditions during design review. Oils, cleaners, heat, UV exposure, humidity, and repeated compression can affect both the elastomer and the bonded interface over time.
Build a Practical Troubleshooting Routine for Delamination
When delamination appears, avoid changing several parameters at once. Multi-variable adjustments may temporarily hide the defect while making the real cause impossible to identify.
First inspect where failure occurs. Adhesive failure at the interface suggests compatibility, contamination, wetting, or temperature issues, while cohesive tearing within the TPE often indicates a stronger bond.
Compare failed and acceptable parts from the same mold. Check gate location, cavity position, cycle timing, cosmetic condition, substrate lot, TPE lot, and operator handling history.
Look for a pattern across cavities. A single weak cavity may indicate blocked venting, uneven mold cooling, localized contamination, damaged texture, or an imbalance in runner flow.
Check mold surfaces for release-agent buildup, corrosion, abrasion, or residue from prior materials. Mold maintenance directly affects substrate contact and should be part of adhesion control plans.
Use a simple experimental plan when optimization is needed. Change melt temperature, mold temperature, injection speed, and packing conditions systematically, while keeping all other factors constant.
Document results in a process window table. Record settings, part weight, cycle time, visual defects, adhesion test values, and failure mode for each trial condition.
After identifying a robust condition, define upper and lower operating limits. A process that works only at one exact setting is fragile and likely to create future quality problems.
Train operators to recognize early warning signs, including flash, splay, short shots, surface dullness, unusual odor, inconsistent part weight, and changes in peel behavior.
Verify Adhesion Under Real Service Conditions
Passing an initial room-temperature peel test is not the final proof of overmolding quality. The part must retain performance throughout its expected environmental and mechanical exposure.
Select validation tests according to the application. Consumer grips may require sweat, sunscreen, and repeated flex testing, while industrial components may need oil, detergent, heat, or vibration resistance.
Condition samples before testing when relevant. Heat aging, humidity exposure, cold cycling, water immersion, and chemical exposure can reveal delayed interface failure that immediate testing misses.
Test the lowest-performing areas, not just convenient locations. Corners, thin sections, gate-adjacent zones, weld lines, and sharply curved surfaces often provide the most useful information.
Define acceptance criteria before production approval. Specify the test method, sample quantity, conditioning procedure, failure threshold, failure mode, and frequency of ongoing quality checks.
Share these requirements with material suppliers, molders, and quality teams. Adhesion performance is a system outcome, so disconnected specifications create avoidable uncertainty during production.
Conclusion: Improve Adhesion by Controlling the Entire Interface
Improving Thermoplastic Elastomer adhesion in overmolding requires more than raising temperature or pressure. The strongest results come from matching materials, preparing surfaces, controlling heat, and validating the complete process.
For operators, the most effective approach is disciplined troubleshooting: confirm compatibility first, protect the substrate surface, stabilize molding conditions, and use repeatable testing to verify each improvement.
When the interface is designed, processed, and inspected as a critical production feature, delamination risk decreases and overmolded parts deliver the flexibility, grip, and durability expected in service.